
This post may contain affiliate links. As an Amazon Associate, I earn from qualifying purchases
Welcome back to Human & Hammer, where we turn home upgrades into easy weekend wins.
If you’ve ever walked into a freezing house in winter or woken up sweating at night, a smart thermostat might just be your new favorite gadget.
These small devices can make your home more comfortable and cut your energy bill by up to 20%.
Let’s walk through how smart thermostats work, how to install one safely, and which models are the best for 2025.
🧠 What Is a Smart Thermostat?
A smart thermostat is a Wi-Fi-connected device that controls your heating and cooling system automatically — learning your habits, detecting when you’re home, and adjusting temperature for comfort and savings.
Think of it as a thermostat that thinks ahead.
🔍 Key Benefits
✅ Adjust your temperature from your phone (even when you’re away)
✅ Set energy-saving schedules automatically
✅ Receive usage reports and maintenance alerts
✅ Works with Alexa, Google Home, or Apple HomeKit
⚙️ Step 1: Pick the Right Smart Thermostat
Not every thermostat fits every HVAC system. Let’s start by checking compatibility.
🔌 Check Your Wiring
- Remove your old thermostat cover and look for a C-wire (a small blue or black wire labeled “C”).
- Most smart thermostats require one — if you don’t have it, many include an adapter kit.
💡 Top Picks for 2025
| Model | Best For | Price | Link |
| Google Nest Learning Thermostat (3rd Gen) | Sleek design, self-learning schedules | $$ | View on Amazon |
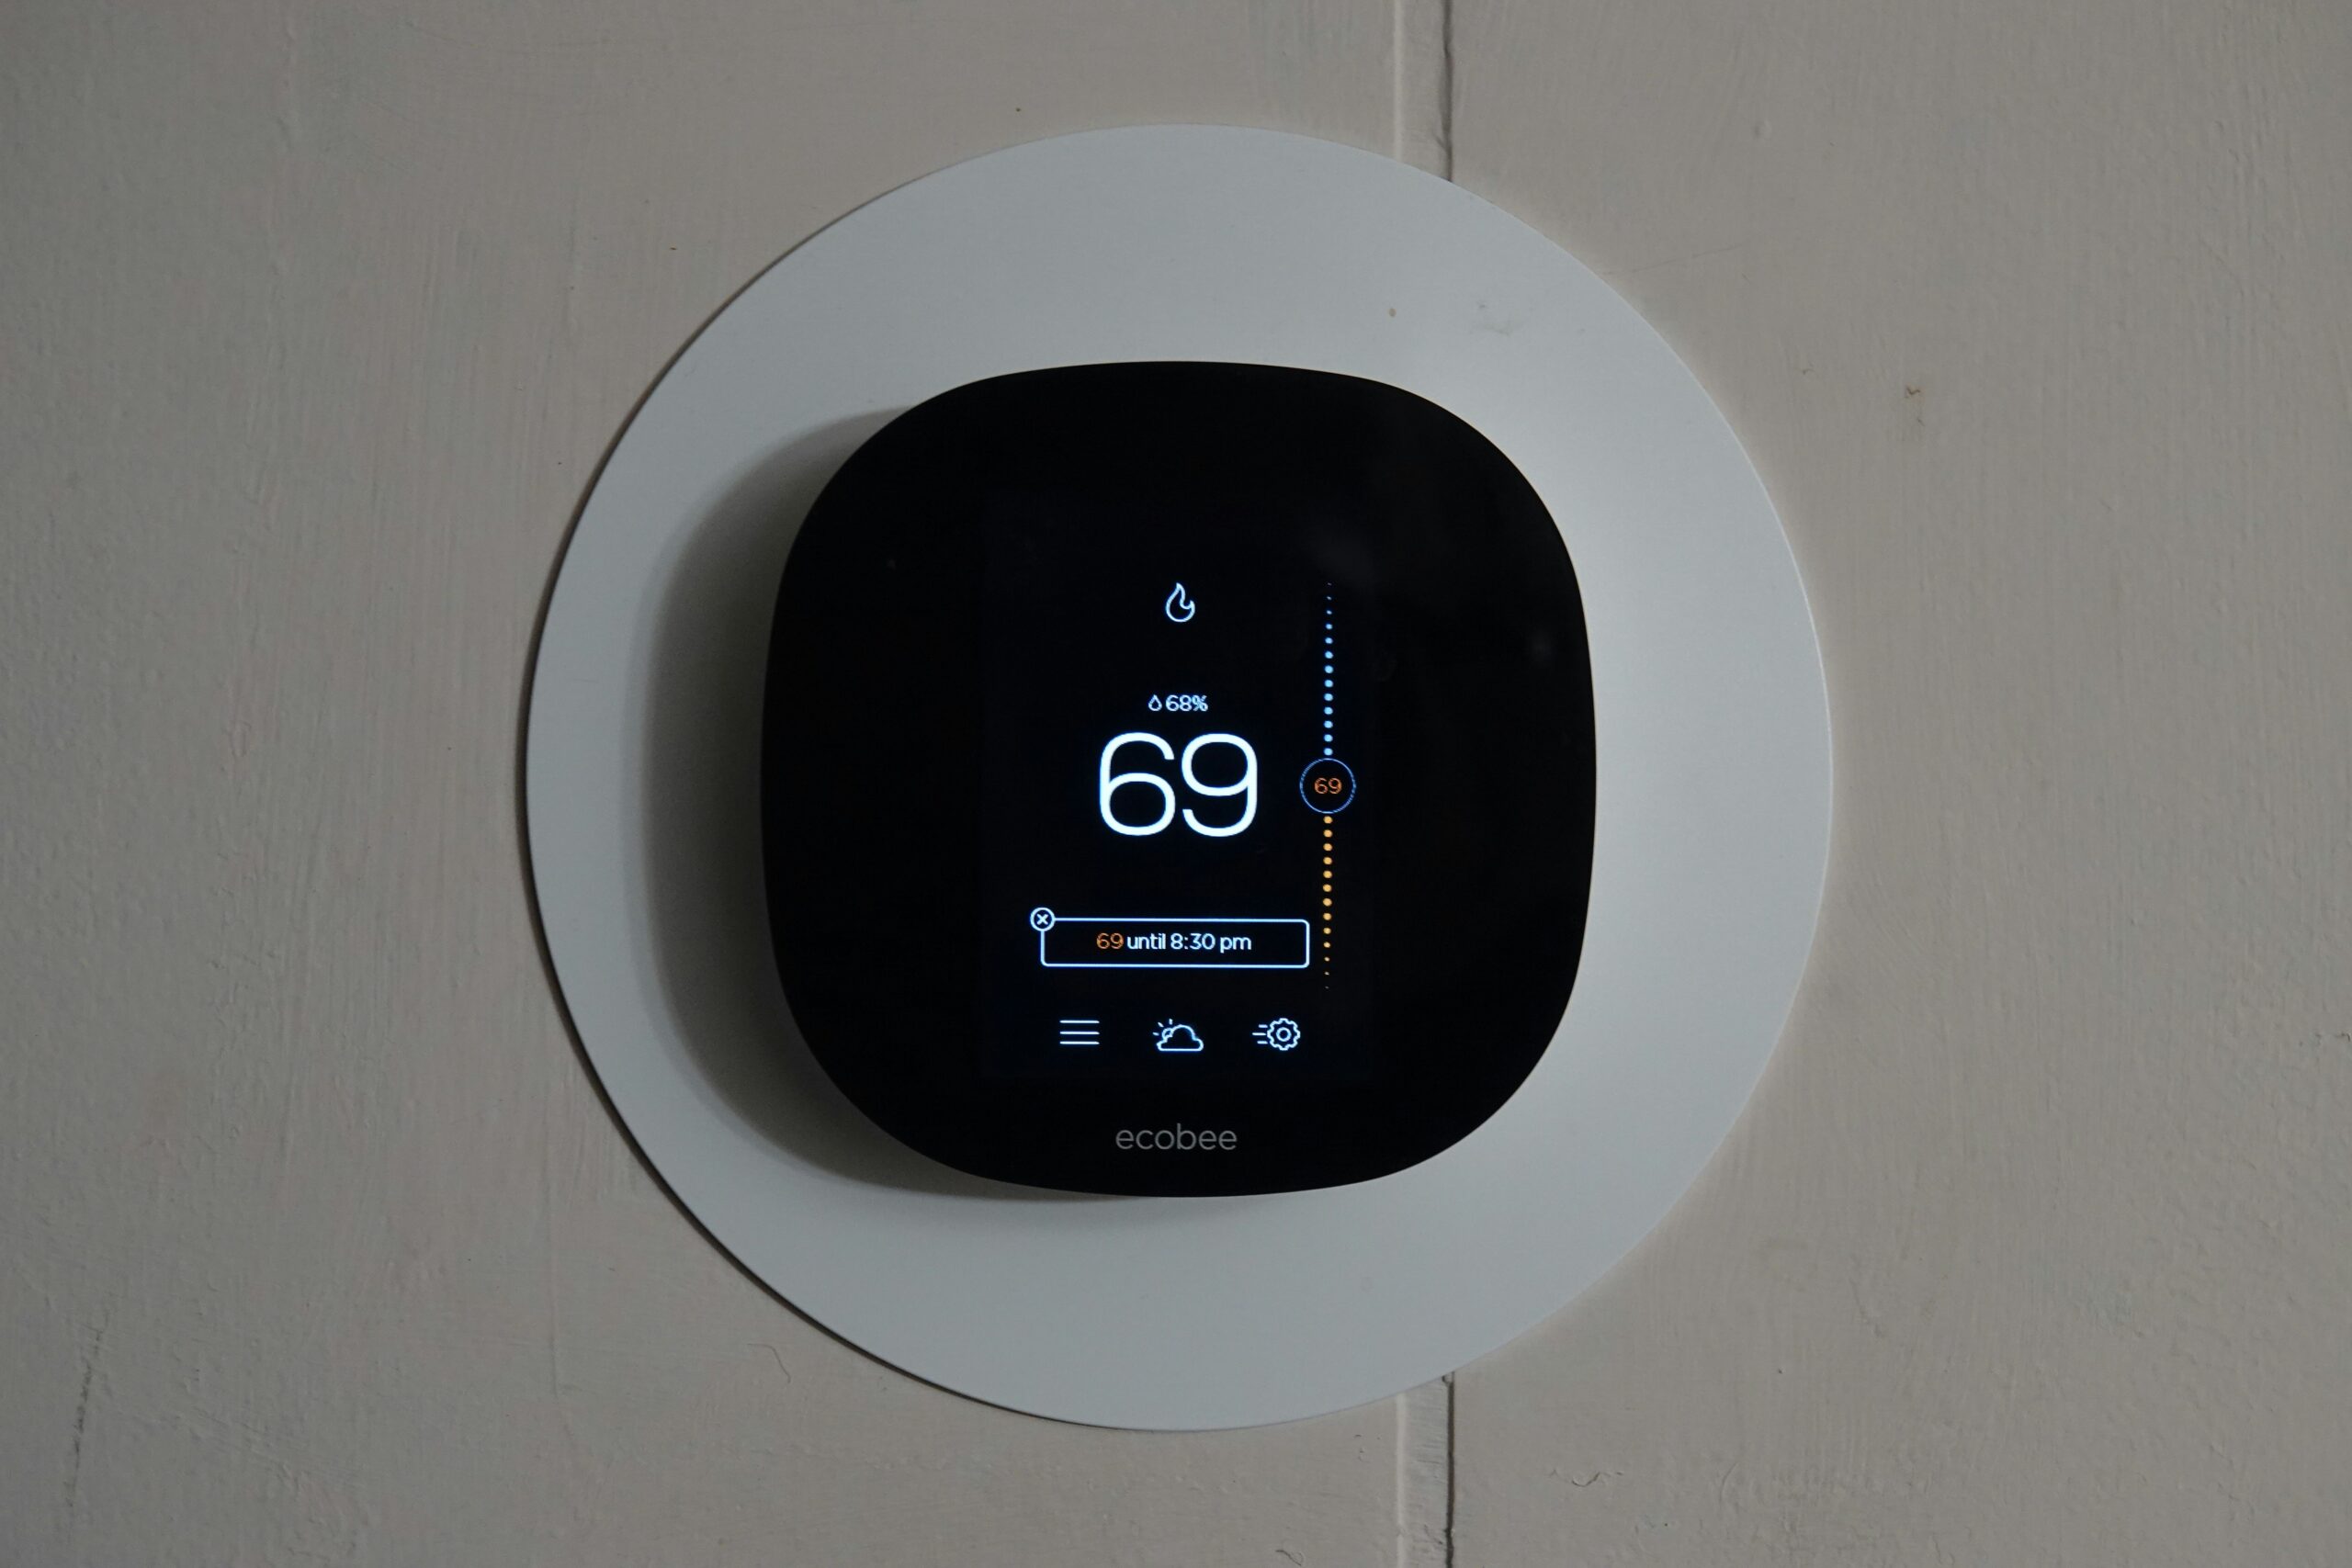
| ecobee Smart Thermostat Premium | Includes remote room sensor & Alexa built-in | $$$ | View on Amazon |
| Honeywell Home T9 | Great budget choice with app scheduling | $$ | View on Amazon |
💬 All three integrate with Alexa, Google Home, and Apple HomeKit for full voice control.
🪛 Step 2: Installation — Easier Than You Think
Installing a smart thermostat is a quick DIY project (about 30 minutes).
⚠️ Safety First
1️⃣ Turn off power to your HVAC system at the breaker.
2️⃣ Take a photo of your current wiring before disconnecting anything.
3️⃣ Label each wire with the stickers included in the thermostat box.
🧰 Tools You’ll Need
- Screwdriver
- Level
- Drill (optional)
- Smartphone (for setup)
🧩 Basic Steps
- Remove your old thermostat and mount the new baseplate.
- Connect wires to their matching terminals (use your photo as a guide).
- Snap the new thermostat onto the plate.
- Restore power and open the brand’s app to connect to Wi-Fi.
- Follow on-screen instructions to calibrate temperature and schedule.
⭐ Tip: If you’re unsure about wiring, call an HVAC pro — installation usually costs <$100.
🔁 Step 3: Set Up Smart Schedules
Once connected, your thermostat can manage itself with a few simple automations.
🕒 Schedule Ideas
- Morning: 72 °F while getting ready
- Daytime (Away): 67 °F to save energy
- Evening: 70 °F for comfort
- Sleep: 65 °F for better rest
Each app (Nest, ecobee, Honeywell) lets you drag-and-drop time blocks — super easy.
💡 Some thermostats even use your phone’s GPS to know when you’re heading home and pre-heat automatically.
🔐 Step 4: Connect to Your Smart Home Ecosystem
Integrate your thermostat with your existing hub so you can say:
“Alexa, set the temperature to 70.”
🔗 Quick Setup
- Alexa: Add Device → Thermostat → select brand
- Google Home: + Add Device → Works with Google
- Apple HomeKit: Scan the HomeKit code on your thermostat
You can also add it to routines, like turning the AC off automatically when you say “Goodnight.”
💰 Step 5: Monitor & Save Energy
Smart thermostats pay for themselves in just a few months.
📉 Ways They Save
- Use motion sensors to detect when you’re away
- Send monthly energy-use reports
- Suggest small schedule tweaks for savings
⭐ Example: ecobee’s “Eco Mode” can reduce HVAC runtime by up to 23% annually.
Don’t forget to check with your utility company — many offer rebates of $50–$150 for installing a smart thermostat.
🧩 Step 6: Troubleshooting & Maintenance
| Problem | Quick Fix |
| Wi-Fi disconnects | Restart router, move closer, or add mesh node |
| HVAC won’t turn on | Re-check wiring (especially the C-wire) |
| App not updating | Refresh or reinstall the app |
| Wrong temperature readings | Calibrate via settings or relocate thermostat away from vents |
🏡 Example Setup for a Small Home
| Area | Device | Routine |
| Hallway | Nest Learning Thermostat | Learns habits automatically |
| Bedroom | ecobee Smart Sensor | Balances temperature while sleeping |
| Living Room | Alexa Routine | “Alexa, I’m cold” → raises 2 °F |
🏁 Final Thoughts
A smart thermostat is one of the easiest, most impactful upgrades for any home.
You’ll stay comfortable year-round while your energy bills quietly shrink.
💬 Human & Hammer Tip: Start with a model that fits your current system — Nest and ecobee make it easy. Once installed, let it learn your routine before fine-tuning your schedules.
Ready to make your HVAC smarter?
Pick your favorite thermostat and get started today 👇
- 🌡️ Google Nest Learning Thermostat (3rd Gen)
- 🏠 ecobee Smart Thermostat Premium
- 💨 Honeywell Home T9 Smart Thermostat
🔗 Quick Shopping Links Recap
| Category | Product | Link |
| Thermostat | Google Nest Learning Thermostat (3rd Gen) | Amazon Link |
| Thermostat | ecobee Smart Thermostat Premium | Amazon Link |
| Thermostat | Honeywell Home T9 | Amazon Link |
| Accessory | ecobee Room Sensor 2-pack | Amazon Link |
| Accessory | C-Wire Adapter Kit | Amazon Link |